Practical Playbook: Turn Photos into Lip‑Synced AI Music Videos
Step‑by‑step playbook to animate photos to song using AI music video maker tools, plus prep, quality checks, legal tips, and distribution best practices.
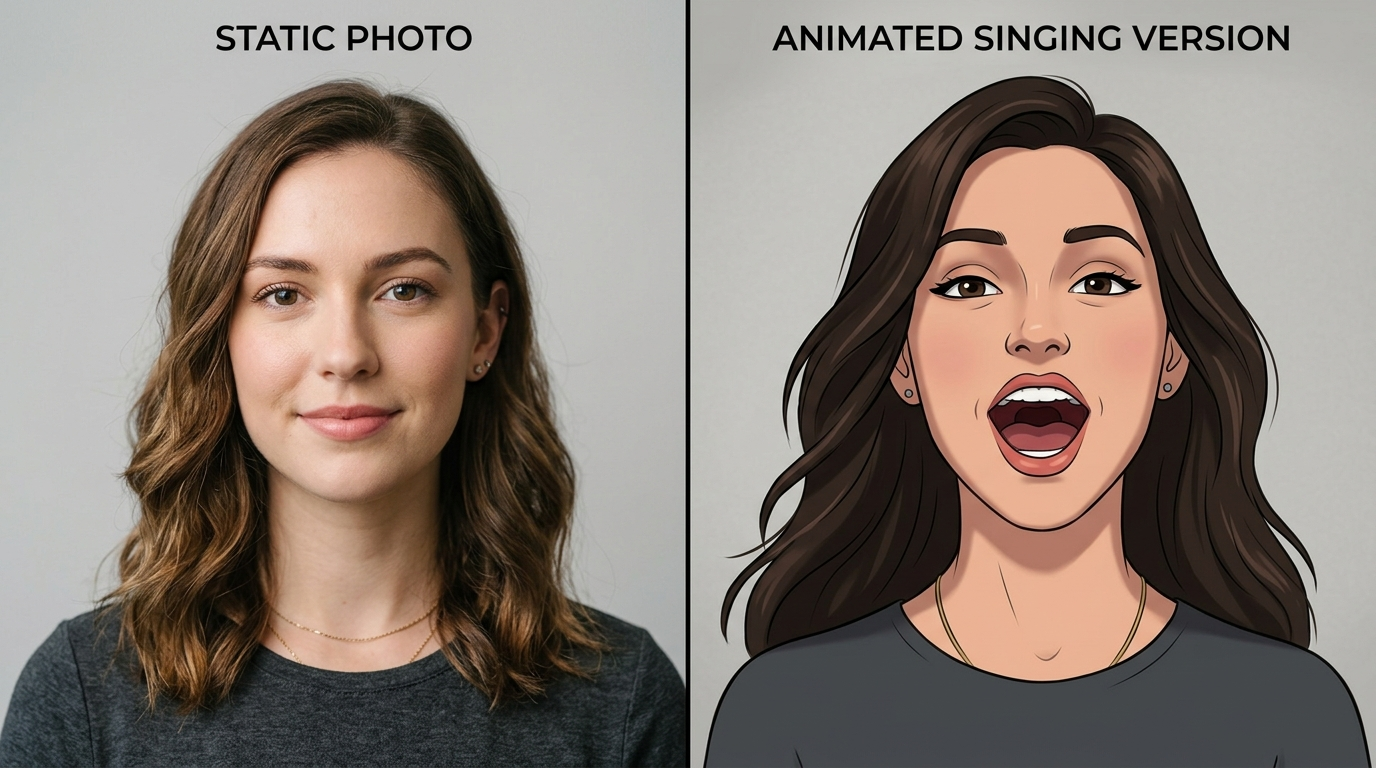
Want a fast, repeatable way to animate photos to song and produce viral‑ready clips? This playbook shows how to use an AI music video maker to turn static images into short, lip‑synced music videos. You'll get a clear production workflow, tool checklist, photo and audio prep tactics, and distribution rules that creators and small teams can apply right away.
How image-to-music video AI works: models, inputs and the role of audio analysis
There are three common technical approaches used by current AI music‑video makers: (1) animate a single photo with learned motion priors and lip‑sync, (2) synthesize an avatar or character from a photo and animate it, and (3) assemble mixed media — generated clips plus animated photos — into a full music video. Each approach maps to different model families and input needs.
Photo‑animation models typically rely on learned motion priors and facial landmark prediction. They take a high‑quality image and predict short, plausible motion fields (head turns, blinking, mouth shapes) conditioned on an audio track or beat information. Avatar synthesis models first create a controllable 3D‑like face or stylized character and then animate it with more explicit rig controls. Mixed‑media pipelines combine diffusion or generative video clips with animated stills and are useful when you want stylistic cutaways or background motion.
A key technical point: modern platforms are phoneme‑aware or waveform‑aware for lip‑sync. Rather than simply matching mouth motion to beat positions, these tools analyze the audio to detect phonemes, onsets, or vocal activity and map phoneme timing to visemes (mouth shapes). That waveform/phoneme analysis produces far better perceived singing realism than beat‑only approaches. When choosing an AI music video maker, look for explicit "lip‑sync", "phoneme alignment" or "vocal stem" support in the product docs and demos.
Choosing the right tool (image animation vs. avatar vs. full video generator): feature checklist
Select a tool based on the visual fidelity you need and how much manual compositing you’re willing to do. Use this checklist to evaluate platforms:
- Lip‑sync fidelity: Does the tool provide phoneme or waveform alignment and can it accept vocal stems? Higher fidelity tools list "phoneme‑aware" or "vocal detection" in their features.
- Input types: Can the platform animate a single photo, create an avatar from multiple photos, or accept generated video clips for mixed media assembly? Decide whether you want a quick single‑photo result or a multi‑tool pipeline.
- Editing controls: Are there per‑frame tweak sliders, facial landmark adjustments, or viseme correction options? Tools with fine‑tune controls produce fewer artifacts.
- Export options and codecs: Look for H.264/H.265 exports, custom frame rates, and common aspect ratios for social platforms.
- Integration and compositing: Does it play well with NLEs? Can you export layers, alpha channels, or masks to composite in a dedicated editor?
- Cost and speed tradeoffs: Browser SaaS gives one‑click speed but lower fidelity; multi‑tool pipelines cost more time and possibly credits but yield higher quality.
For practical use, match the tool to your goal: quick Reels and TikToks use photo‑animation SaaS; music videos targeting YouTube benefit from avatar or mixed‑media pipelines and offline compositing. When you need assets or covers, include an image generation step — consider using an AI image tool for backgrounds or stylized portraits.
Prepping photos and audio for the best auto lip-sync results
Preparation is where most quality gains come from. Follow these concrete file preparation steps:
Photos
- Resolution and framing: Use the highest resolution available. Front‑facing headshots with the face centered deliver better landmark detection. Crop to the target aspect ratio before animation to reduce reframe artifacts.
- Expression and background: Neutral‑to‑mid expressions (slight mouth openness works well) reduce extreme artifacting. Clean, uncluttered backgrounds or separate background layers help the model focus on facial motion.
- Layers and cutouts: When possible, create a separated face layer or mask. Tools that accept face cutouts avoid having to re‑infer hair and background motion, reducing haloing and warping.
Audio
- Use isolated vocal stems or a dry vocal track. Models that can ingest stems or detect vocals will align mouth shapes more accurately than when you provide a full mix with heavy reverb or instruments.
- Pre‑cleaning: Remove long fades and normalize levels. Trim silence at the start to avoid misaligned leads.
- Tempo and structure: For beat‑driven edits, export a reference waveform or tempo map. Many creators supply both the vocal stem and a separate instrumental or metronome track so the generator can use rhythmic cues without instrument bleed.
Combining photo and audio prep yields faster, cleaner first passes and reduces iteration cycles during refinement.
Step-by-step production workflow: generate, refine, assemble, export
A repeatable workflow saves time and improves final quality. Use this four‑stage process:
1) Select and prepare assets
- Pick 3–8 photos you want to animate and prepare isolated face masks where feasible.
- Export vocal stems or a dry vocal. Keep instrumental backups for background layers.
2) Generate an initial lip‑synced clip
- Load one photo and the vocal stem into your chosen AI music video maker and run an initial render. Treat this as a draft to evaluate mouth timing, head turns, and blink frequency.
3) Refine facial motion and timing
- Use phoneme/viseme sliders or re‑run the sync with slightly altered alignment settings if the mouth looks off. Many creators iterate 2–4 times, toggling strength of jaw, lip rounding, and head rotation.
- Export intermediate clips with alpha or high‑quality codecs if your tool supports it.
4) Assemble and finish in an editor
- Import clips into an NLE (or an advanced web compositor). Do beat cuts, add transitions, perform motion parallax on background layers, and color grade. Tight cutting on vocal syllables with visual punctuation (micro‑cuts) sells energy for short social formats.
- Export to target codecs and aspect ratios: H.264 for broad compatibility, H.265 for size‑savings where supported.
Iterate: creators often repeat steps 2–4 for different photos and then assemble the best takes into a single, polished edit rather than relying on a one‑shot generator output.

Practical tips to improve realism: facial landmarks, phoneme alignment, motion parallax and beat-driven edits
Improving perceived realism is about controlling motion detail and temporal alignment.
Facial landmarks and cleanup
- Inspect landmark overlays if the tool shows them. Misplaced landmarks predict warped cheeks or floating teeth. If landmarks look off, try a different photo crop or supply a new face cutout.
- Use subtle micro‑expressions (blink, small eyebrow moves) to avoid the uncanny valley caused by perfectly static faces.
Phoneme alignment and viseme tweaks
- Prefer tools that expose phoneme timelines or let you nudge viseme timing. Small shifts (20–60 ms) can change whether a consonant looks punchy or mushy.
- If available, provide a separate vocal stem and an instrumental/metronome track so the model can separate melody from rhythm.
Motion parallax and background motion
- Fake depth: place the face on one layer and a slightly scaled background layer that moves opposite to head turns. This parallax creates depth without full 3D modeling.
- Add subtle camera moves keyed to beats: a slight push in on downbeats or small rotations on chorus entrances increases engagement.
Beat‑driven edits
- Edit cuts to syllable attacks or chorus hooks. For 9:16 short clips, shorter shots (1–3 seconds) with rhythmic cuts keep watch time high.
These practical adjustments are what differentiate a polished AI music video maker result from a rapid prototype.
Legal, ethical and quality-control checkpoints (copyright, consent, deepfake risks)
AI music videos introduce legal and ethical responsibilities. Run these checkpoints before publishing:
Copyright and licensing
- Confirm you own or are licensed for the song and any sampled material. If you used AI‑generated music or stems from a service, follow that service's license terms and include required attribution.
- For background imagery or generated clips, keep source licenses and record where assets were created.
Consent and likeness rights
- Get written consent from anyone whose face appears in the video. For public figures or third‑party likenesses, check local publicity and defamation laws; avoid impersonation or misleading claims about endorsement.
Deepfake awareness and disclosure
- Be transparent. If your clip uses substantial AI‑generated face animation or voice cloning, include a short on‑screen disclosure or metadata note. Increasingly, platforms and audiences expect clear labeling.
Quality control and detection risks
- Run a quick forensic check: extreme mouth stretching, floating hair, or inconsistent lighting often flags a generated clip to detection models. Tightening viseme timing and improving background consistency reduces false‑positive detection and preserves viewer trust.
These steps reduce legal exposure and make your content shareable across platforms that are tightening moderation around synthetic media.

Distribution & format choices: social platforms, aspect ratio, length and metadata
Plan distribution with platform specs and viewer behavior in mind.
Aspect ratio and length
- Short social: Vertical 9:16 for TikTok and Reels; keep clips ≤60 seconds for maximum distribution reach on short‑form feeds. Use very tight edits and strong openings in the first 2–3 seconds.
- Landscape/Shorts: 16:9 for YouTube Shorts; consider both 16:9 and a vertical crop if you repurpose the same edit across platforms.
Export settings and codecs
- Use H.264 for universal compatibility; H.265 for smaller files if the target platform supports it. Deliver at platform‑recommended bitrates for the chosen resolution to avoid re‑compression artifacts.
Metadata and credits
- Include credits and rights metadata in description fields. Note when the work contains AI‑generated visuals or voices. Good metadata reduces takedown risk and increases transparency.
Promotion hooks
- Use looping visuals or micro‑edits timed to the most memorable lyric to improve shares. Add clear captions for accessibility and to increase completion rates on muted autoplay.
Finally, choose the right publishing cadence: test A/B variations of short crops, thumbnails, and opening frames to find which performs best for your audience.
Frequently Asked Questions
Do I need an isolated vocal track for good lip sync?
Yes. Isolated vocals or dry stems significantly improve phoneme alignment and produce cleaner mouth shapes than full mixes with heavy reverb or instruments.
Can I use public figure photos in AI music videos?
Exercise caution. Public figures may have publicity rights and platform policies often restrict manipulated likenesses. Obtain permission and clearly disclose synthetic modifications.
Which export format is best for Reels and TikTok?
Export vertical 9:16 using H.264 at platform‑recommended bitrates and keep video length under 60 seconds for best distribution.
Conclusion
Start with a small, repeatable pipeline: pick your best front‑facing photos, export a dry vocal stem, and run a focused lip‑sync pass in an AI music video maker. Iterate: tweak visemes or landmarks, composite in an NLE for beat cuts and parallax, then export to the platform‑specific format. Use the checklist for tools, the prep rules for files, and the legal checkpoints before publishing. If you want to build assets end‑to‑end on the same platform, explore PlayVideo.AI's creation tools to generate images, music, effects, and videos: visit the AI Image Generator (/create-image), AI Music Generator (/create-music), AI Video Generator (/create-video), and try lipsync or avatar effects (/effects). When you're ready to scale, review pricing and plans on our pricing page (/pricing) and add voice or cloned parts via our AI Voices page (/ai-voices). Start small, iterate fast, and measure which edits drive engagement.