AI Lip Sync Tutorial: Fast, Viral‑Ready Intros with One‑Click Effects
Learn how modern AI lip‑sync works and make 15–30s viral intros fast using PlayVideo.AI AI Video Effects. Two hands‑on workflows and practical tips included.
You’re scrolling and a 15‑second clip nails the beat: perfect mouth shapes, synced breaths, a punchline, and your attention locked. That’s the power short intros and lip‑sync formats still hold for reach — and you can make those clips in minutes. This AI lip sync tutorial walks through why lip‑sync intros cut through, explains how modern systems map phonemes to mouth motion, and gives two hands‑on workflows you can use right now with PlayVideo.AI AI Video Effects.
In the first 150 words: PlayVideo.AI AI Video Effects is the one‑click shortcut you’ll use to turn a selfie or a single photo into a trend‑ready vertical clip (dance, lipsync, AI singing, or a news‑anchor intro). You’ll get a practical selfie→15–30s lip‑sync workflow and a photo→talking‑head walkthrough, plus timing, audio prep, and platform safety rules. Read through, try the short walkthroughs, and you’ll have multiple variations to test on TikTok, Reels, or Shorts by the end of your session.
Why lip‑sync and short intros still drive reach: data and creative trends creators must know
Short‑form entertainment formats — dance, lip‑sync, and music clips — remain dominant drivers of discoverability. Pew Research’s October 2024 analysis of TikTok content classifications highlights how viral lip‑sync and dance performances are disproportionately present in high‑reach accounts. For creators and marketers that means a simple, well‑executed intro can out‑perform longer, higher‑production videos because it fits the platform’s attention dynamics and the feed’s rapid consumption model.
From a creative standpoint, lip‑sync intros do three things that help reach: they establish a clear audio hook in the first two seconds, they show expressive facial cues that work at scale in small mobile frames, and they are highly repeatable — which makes A/B testing and trend hopping simple. That repeatability is why PlayVideo.AI AI Video Effects matters: it converts one photo or selfie into many variations (dance, avatar, lipsync) without complex editing. For trend‑chasing creators, that one‑photo→multiple‑clips model reduces production cost and speeds iteration.
Practically speaking, optimize for 9:16 vertical output, tight framing (head and shoulders), and 10–30 second lengths: those are the formats TikTok and Reels reward for watch time and replays. Combine that checklist with pre‑built effects to produce testable hooks quickly and at low cost.
How modern AI lip‑sync works (simple explainer for creators — from phonemes to pixels)
At a high level most modern lip‑sync systems convert audio into a time series of phoneme or viseme predictions, then map those to mouth shapes rendered onto a face model. Early systems relied on frame‑by‑frame matching, while recent models introduce latent diffusion and 3D-aware techniques to keep identity and pose consistent during extreme movements.
You don’t need to be an engineer to use these systems, but understanding the pipeline helps you get better results. The core stages are:
- Audio analysis: the model extracts phonemes and speech timing from your audio.
- Alignment: phonemes are aligned with video frames so the mouth motion matches syllable timing.
- Rendering: a face model (2D or 3D latent) is updated per frame to produce realistic mouth and jaw movement.
Recent research (e.g., LatentSync, GenSync, OmniSync) improves robustness to pose and occlusion by conditioning the generation process on identity and motion priors. That’s why modern effects can hold a recognizable face while producing exaggerated mouth shapes for singing or fast speech. For creators, the takeaway is simple: cleaner audio and stable framing make those advanced models perform even better.
If you want deeper technical background, the AI Wiki overview on lip‑sync systems gives a concise summary of current methods and typical processing ratios (https://artificial-intelligence-wiki.com/generative-ai/generative-ai-applications/ai-avatar-lip-sync/). Many consumer tools process video near real time to a few minutes per minute of footage; expect variable render times depending on resolution and effect complexity.
Choosing the right input: selfie, photo, or full video — what each delivers and when to use it
Picking the right input determines how much control you keep and how fast you’ll move. Here’s a practical breakdown for creators:
- Selfie (short recorded clip): Best when you want natural motion, eye blinks, and shoulders/head tracking to look authentic. Use selfies for dance trends and lip‑syncs where your natural expression matters. Selfie inputs give the lip‑sync model real head movement to anchor to, improving realism.
- Single photo: Ideal for rapid testing, character-driven content (avatars, pets), and situations where you want a stylized or permanent look. PlayVideo.AI AI Video Effects specifically supports turning one photo into a finished vertical clip — useful for marketers who must produce many variations from a single asset.
- Full video (longer footage): Use when you need continuity across scenes, complex choreography, or higher fidelity. Full video gives the effect more temporal context but takes longer to render and edit.
Quality signals that matter across inputs: tight head‑and‑shoulders framing, neutral or even background, good lighting, and clean audio. Tools vary in robustness: state‑of‑the‑art research benchmarks (Wav2Lip family, GenSync) emphasize resilience to pose and occlusion, but no tool is magic — input quality still drives output quality. For speed and scale, a selfie or single photo paired with pre‑tuned effects is often the fastest path to a publishable clip.
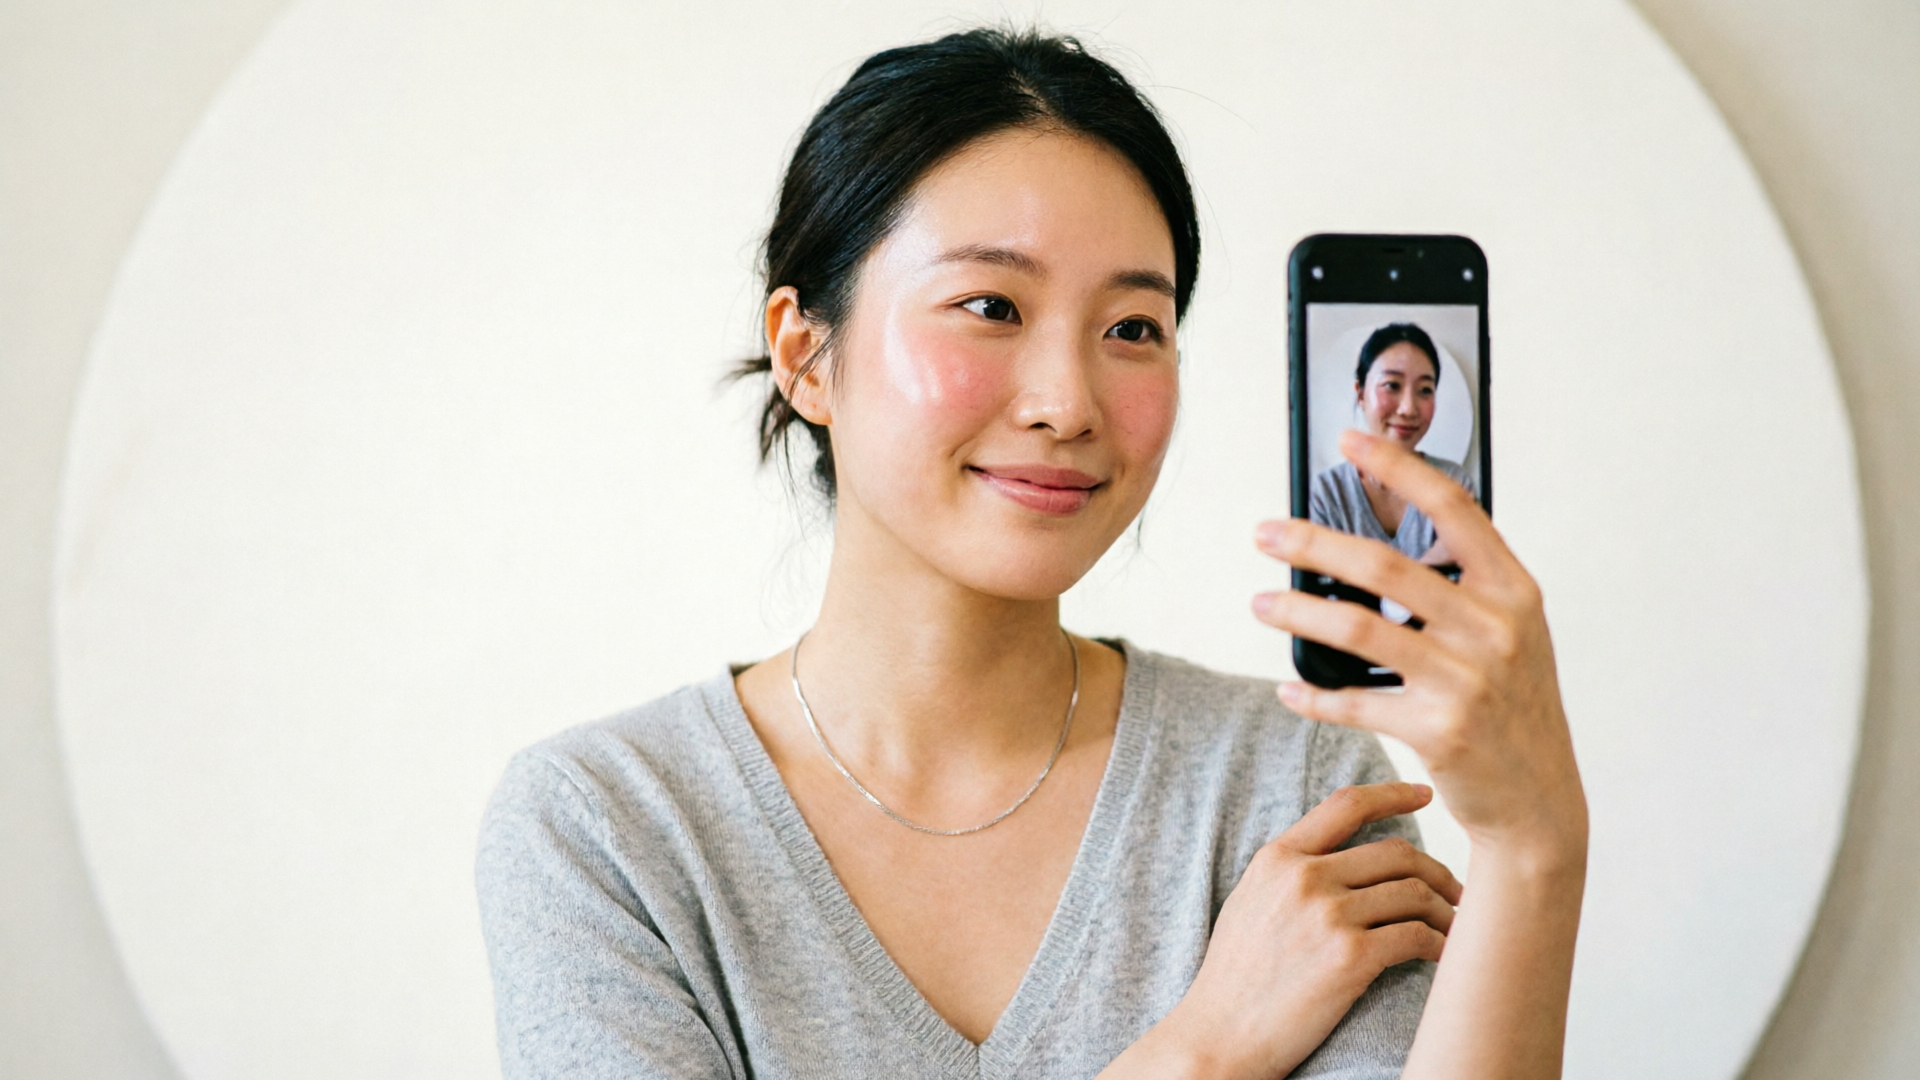
Hands‑on workflow A — Create a 15–30s lip‑sync intro from a selfie (fast, trend-ready)
This walkthrough shows how to make a 15–30s lip‑sync intro using a short selfie clip and PlayVideo.AI AI Video Effects.
Step 1 — Record the selfie clip. Use your phone, frame head and shoulders tightly, aim for 10–30 seconds, and record in quiet surroundings. Speak or mouthe the lyric/line you’ll lip‑sync to so timing is comfortable.
Step 2 — Choose audio. Use the original track, a clipped vocal, or a voice clone. If you need a custom line, you can generate the narration separately (PlayVideo.AI AI Voices is a natural companion if you want cloned or stock voices). Clean audio with high SNR is crucial: remove background noise and normalize levels.
Step 3 — Upload selfie and audio to PlayVideo.AI and select the lipsync or dance effect in the AI Video Effects library. Because each effect is a tuned preset, you don’t need prompt engineering — pick the preset that matches your intent (straight lipsync, singing, dance overlay).
Step 4 — Adjust timing and trims. The interface lets you align the audio clip to the selfie timeline. For quick edits, set the clip length to 15 or 30 seconds and preview.
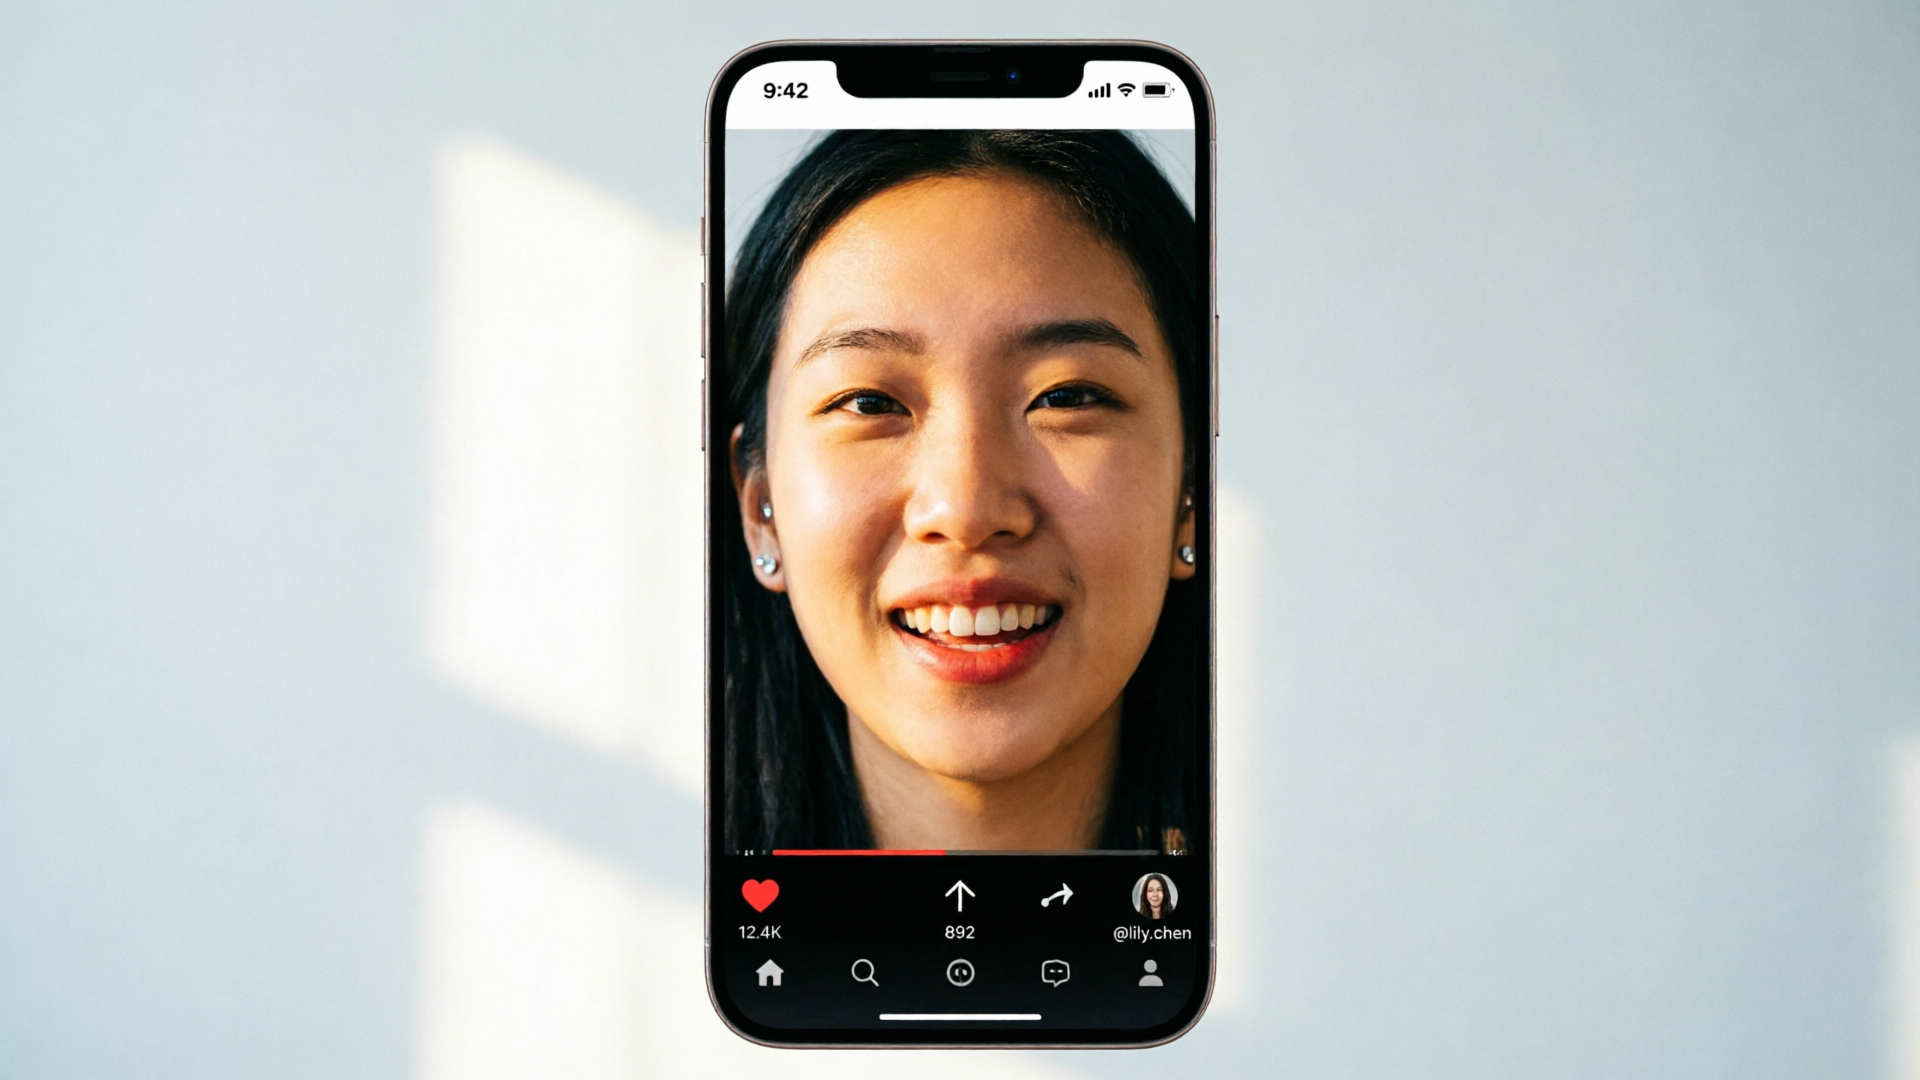
Step 5 — Render vertical 9:16 output and export. PlayVideo.AI AI Video Effects produces finished vertical clips ready for TikTok or Reels.
Worked example: I recorded a 12‑second selfie mouthing a chorus line, uploaded the clean audio clip, selected the “lipsync” preset, aligned the vocal start to frame 0, chose a slight head‑nod variant, and rendered a 9:16 file. The result needed only a light color grade before posting and performed well in rapid trend tests.
This workflow is fast because the effect presets do the heavy lifting: face alignment, phoneme mapping, and mouth rendering are handled by the engine so you can focus on hooks and pacing.
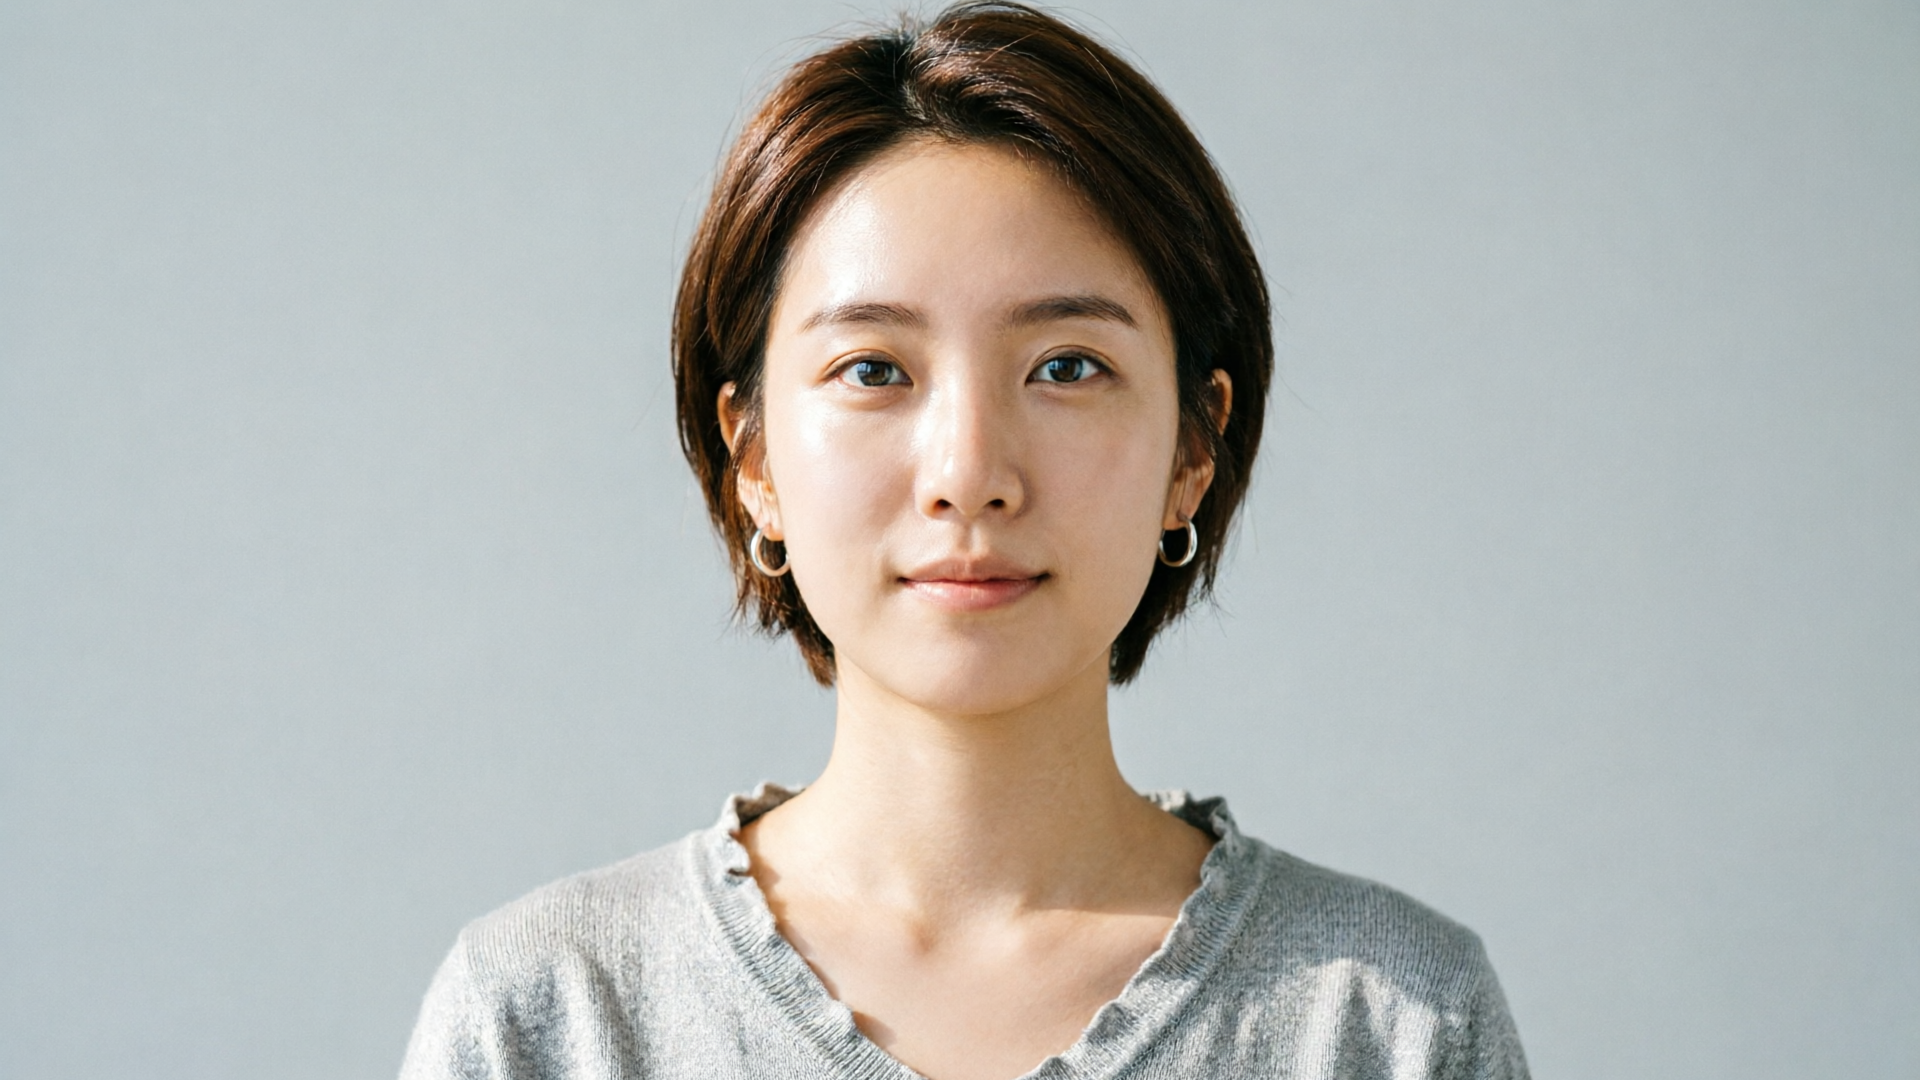
Hands‑on workflow B — Turn a single photo into a talking‑head or AI news‑anchor intro
Turning one photo into a believable talking‑head or news‑anchor clip is where pre‑built effects shine. PlayVideo.AI AI Video Effects includes tuned presets for news anchors and avatar talking heads that create motion and mouth shapes from a still image.
Step 1 — Pick the photo. Use a high‑resolution headshot with neutral expression or slightly open mouth for better motion. Tight framing and even lighting reduce artifacts.
Step 2 — Write the short script (10–20 seconds). Keep sentences punchy. Example intro: “Quick update: new track drops Friday — here’s the hook.” If you don’t want to use your recorded voice, generate a voice with PlayVideo.AI AI Voices or drop a stock narration.
Step 3 — Upload the photo and script to PlayVideo.AI AI Video Effects. Select the news anchor or talking‑head preset. These presets convert the photo into a face rig, animate subtle head movement, eye blinks, and lip motion aligned to the audio. No prompt tweaks required — the tuned preset does the mapping.
Step 4 — Fine‑tune. Trim the clip, adjust mouth openness or animation intensity if available, and render a 9:16 vertical output.
Worked example: I used a single headshot, pasted a 15‑second script, chose the “news anchor” preset, and selected a neutral AI voice from the AI Voices library. The effect produced stable lip‑sync and subtle shoulder motion; the clip required only caption overlays and was ready for a news‑style Reels post.
For marketers, this workflow is powerful: one photo becomes multiple anchor reads for A/B testing headlines or CTAs, and the process scales without filming multiple takes.
Timing, audio prep, and creative tricks to make lip‑sync feel real and viral
Small timing and audio choices make the difference between uncanny motion and believable performance. Here are practical rules for viral feel:
- Lead with the hook: place the strongest audio hook within the first two seconds. That initial anchor improves view retention.
- Keep clips short: 10–30 seconds is the sweet spot for discoverability and rewatches.
- Use high SNR audio: noise reduction and a single clear vocal track help alignment algorithms predict phonemes accurately.
- Allow micro‑pauses: human speech has micro hesitations; introducing tiny timing offsets around punctuation can make lip‑sync feel natural.
- Match performance energy: if the track is energetic, increase animation intensity or choose a dance variant; for a straight read, pick a subdued news‑anchor preset.
Creative tricks: combine the lipsync preset with an AI Music Generator bed to craft custom hooks and ensure audio rights are clear. You can also generate short variations by changing only the audio clip while keeping the same photo — PlayVideo.AI AI Video Effects will queue and render multiple variations so you can test thumbnails and captions quickly.
Remember processing time: consumer tools often render at roughly 1:1 to 3:1 minutes per minute of video, so prioritize shorter clips for faster iteration. Planning and batch rendering multiple variants overnight is a reliable workflow for creators scaling content.
Safety, disclosure, and platform rules: ethical use, labeling, and copyright basics
AI‑driven lip‑sync and talking‑head clips raise ethical and legal considerations creators must respect. Platforms are increasingly experimenting with labeling for synthetic or translated content, and several networks require disclosure when content is AI‑altered. Meta’s experiments with lip‑sync dubbing in Reels are an early example of platform attention to the space.
Best practices for creators:
- Disclose synthetic elements when required by platform rules or when the audience expects authenticity.
- Avoid creating content that impersonates identifiable individuals without permission. Voice cloning and face animation can cross legal and ethical boundaries if used to impersonate public figures or private people.
- Respect copyright for audio: if you’re using music, ensure you have the appropriate rights or use a generated track from PlayVideo.AI AI Music Generator to avoid strikes.
For brand safety, keep records of the sources you used to generate voice or audio, and use visible captions or small on‑screen labels for synthetic content when in doubt. Ethical use preserves trust and avoids policy takedowns that can harm long‑term reach.
Next steps: scaling intros and variations fast with PlayVideo.AI AI Video Effects
Once you’ve practiced the two workflows above, scale by batching assets and variations. PlayVideo.AI AI Video Effects is built for exactly this: one photo in, finished vertical clip out, with tuned presets for dance, lipsync, AI singing, and news anchor. Use these tactics to scale:
- Batch rendering: create a spreadsheet of scripts, voice variants, and effect presets; queue them in PlayVideo.AI to produce dozens of variations without manual re‑editing.
- Split testing: keep the same visual and swap audio hooks or CTAs to see what drives higher completion and shares.
- Cross‑use supporting features: generate custom beds with the AI Music Generator for exclusive backing tracks, or create stylized promotional images with the AI Image Generator to use as thumbnails.
Concrete mini walkthrough (scale example):
- Pick 5 headlines and write 5×10–15s scripts.
- Choose one headshot or selfie per campaign.
- In PlayVideo.AI AI Video Effects select the ‘news anchor’ preset and queue the five scripts with a mid‑tone AI voice from AI Voices.
- Render overnight and review performance metrics the next day to pick the best headline.
Because each effect is a tuned preset, you avoid prompt‑engineering and reduce trial time. If you need longer narrative videos or cinematic text‑to‑video generation, use the AI Video Generator (/create-video) to expand a winning intro into a longer piece. For visuals and thumbnails, try the AI Image Generator (/create-image). For music beds, use the AI Music Generator (/create-music). These supporting tools integrate into a fast pipeline so you can produce and test at creator speed.
Frequently Asked Questions
How long should an AI lip‑sync intro be for best engagement?
Keep it between 10–30 seconds. Shorter clips increase replay probability and reduce render time, which speeds iteration.
Can I use copyrighted songs in AI lip‑sync clips?
Not without permission. Use cleared audio or generate original beds with AI Music Generator to avoid copyright issues.
Will a single photo look natural as a talking head?
Yes—if you use a high‑quality headshot, a tuned preset like PlayVideo.AI AI Video Effects’ news‑anchor effect, and clean audio; subtle animation and good framing are key.
Do I need voice cloning to make lip‑sync work?
No. You can use existing audio tracks or stock voices; voice cloning (AI Voices) is useful when you want consistent narration or a branded voice.
Conclusion
Practical creators win by moving faster than competitors. This AI lip sync tutorial gives two immediate workflows you can apply: a selfie→15–30s lipsync for trend clips and a photo→news‑anchor route for repeatable marketing reads. PlayVideo.AI AI Video Effects makes both paths fast by providing one‑click, tuned presets that render 9:16 vertical clips from a single photo or selfie — so you can iterate on hooks, voices, and CTAs rather than wrestling with frame‑by‑frame animation.
Ready to scale your intro tests? Open the AI Video Effects library and ship a viral‑format clip from a single photo today.